Snowmen A to Zzzz – Finished!

2 02 2021

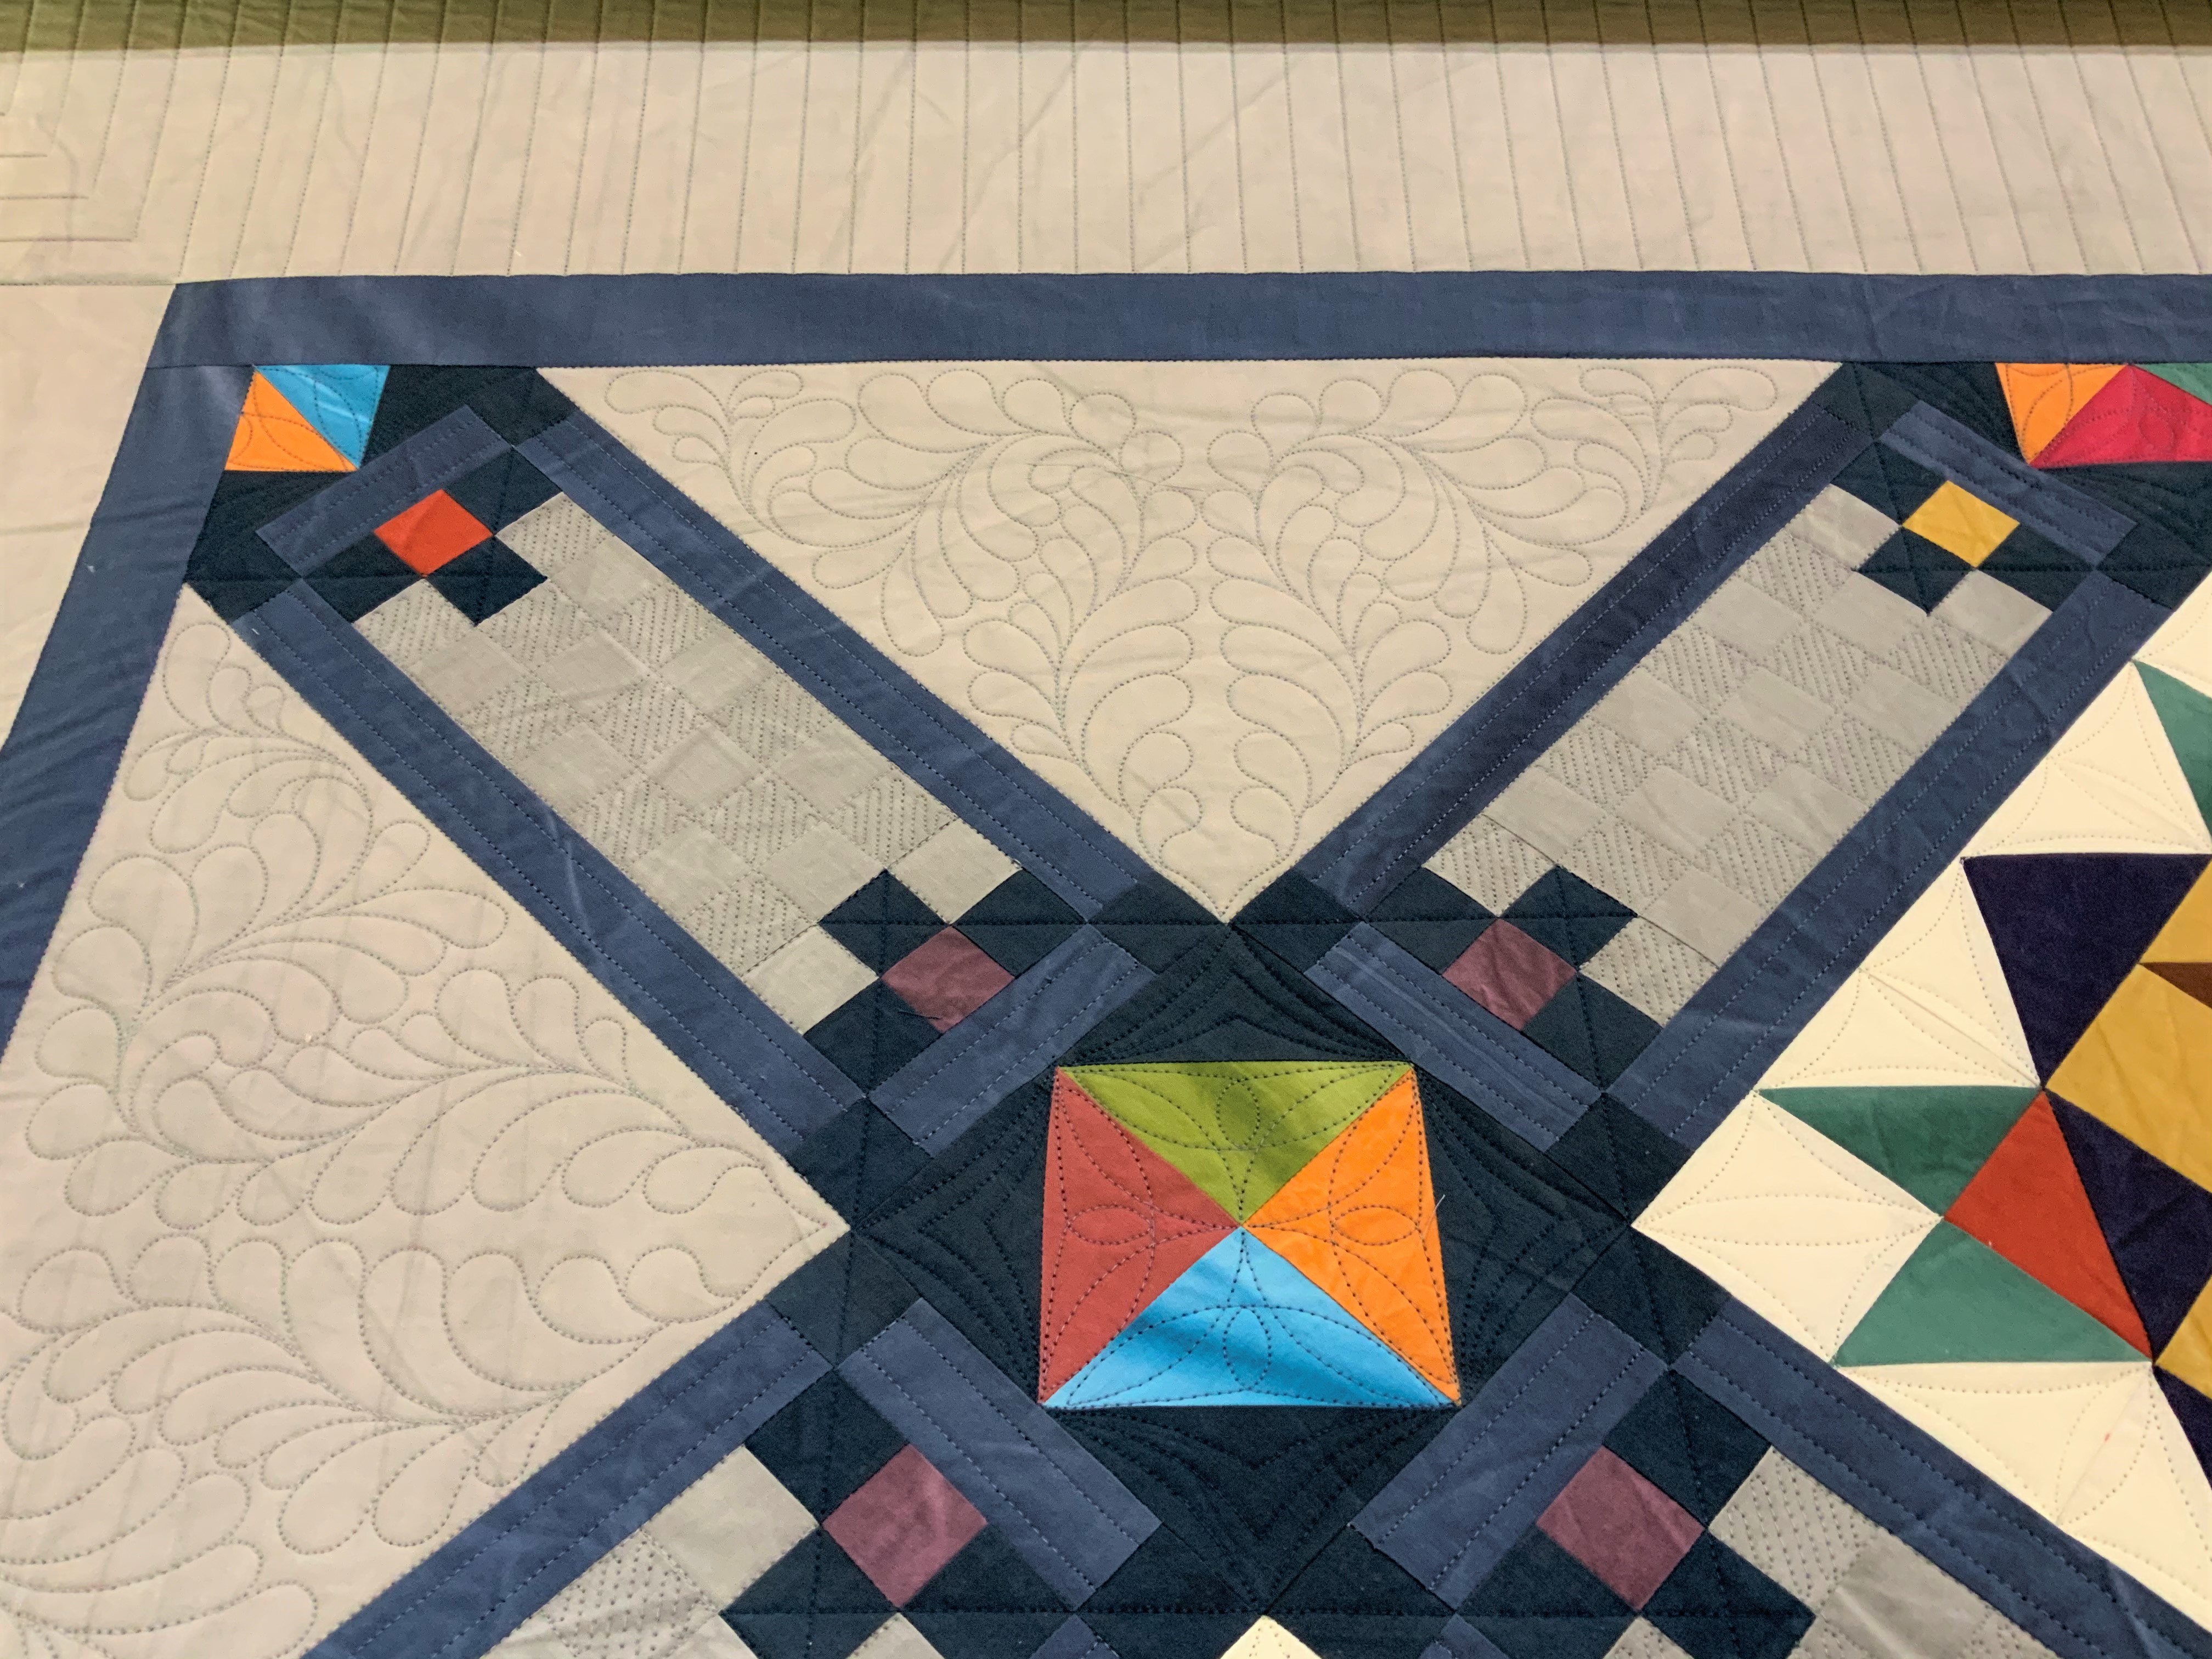
Snowmen A to Zzzz was on my UFO list last year. The top was finished (in 2011) expect for replacing a section that was stained while it was on display as a sample. I replaced that area sometime in 2020, but didn’t have the chance to quilt it. Last week was when the quilt had finally “aged appropriately.” It is now quilted and bound it. I’m so happy with the results!

The center is quilted with the edge to edge pattern “Whisper” from My Creative Stitches.

The border has snowflakes in the center white sections and a pattern I created on my IQ in the outside white and aqua inside section (it doesn’t show much in the aqua since the thread matches so well).

The backing is flannel and I intend to use it as a throw.


WIP Wednesday Opposites

29 04 2020

Good news, I remembered what day it is!

I’m always working on quilting other people’s quilts, but I’m not posting them here. On one of my machines I’m working on quilting Stargazing which is (or will be) mine.  It is a store sample and it will come home to me when it has finished its job. Ruth’s Stitchery has already offered it as a block of the month, but they will be kitting full quilts when they have the sample.

IMG_0938

Other than a small amount of stitch in the ditch, I’m doing all the quilting using the Intelliquilter, including what looks like ruler work. I’d do a video, but the machine I’m using for this one is my newest, and it is running a different version of the software. For some reason that update has not been posted on the IQ website yet. Resetting the handles in distort works much differently (better) in this new version. It would probably be faster to do ruler work, (although my spacing on the checkerboard in the sashing wouldn’t be as exact) but my neck and shoulder don’t thank me when I do much hand guided work or sit at the sewing machine for long. There’s close to 30 hours of quilting on this quilt already, and probably close to that much more to go.

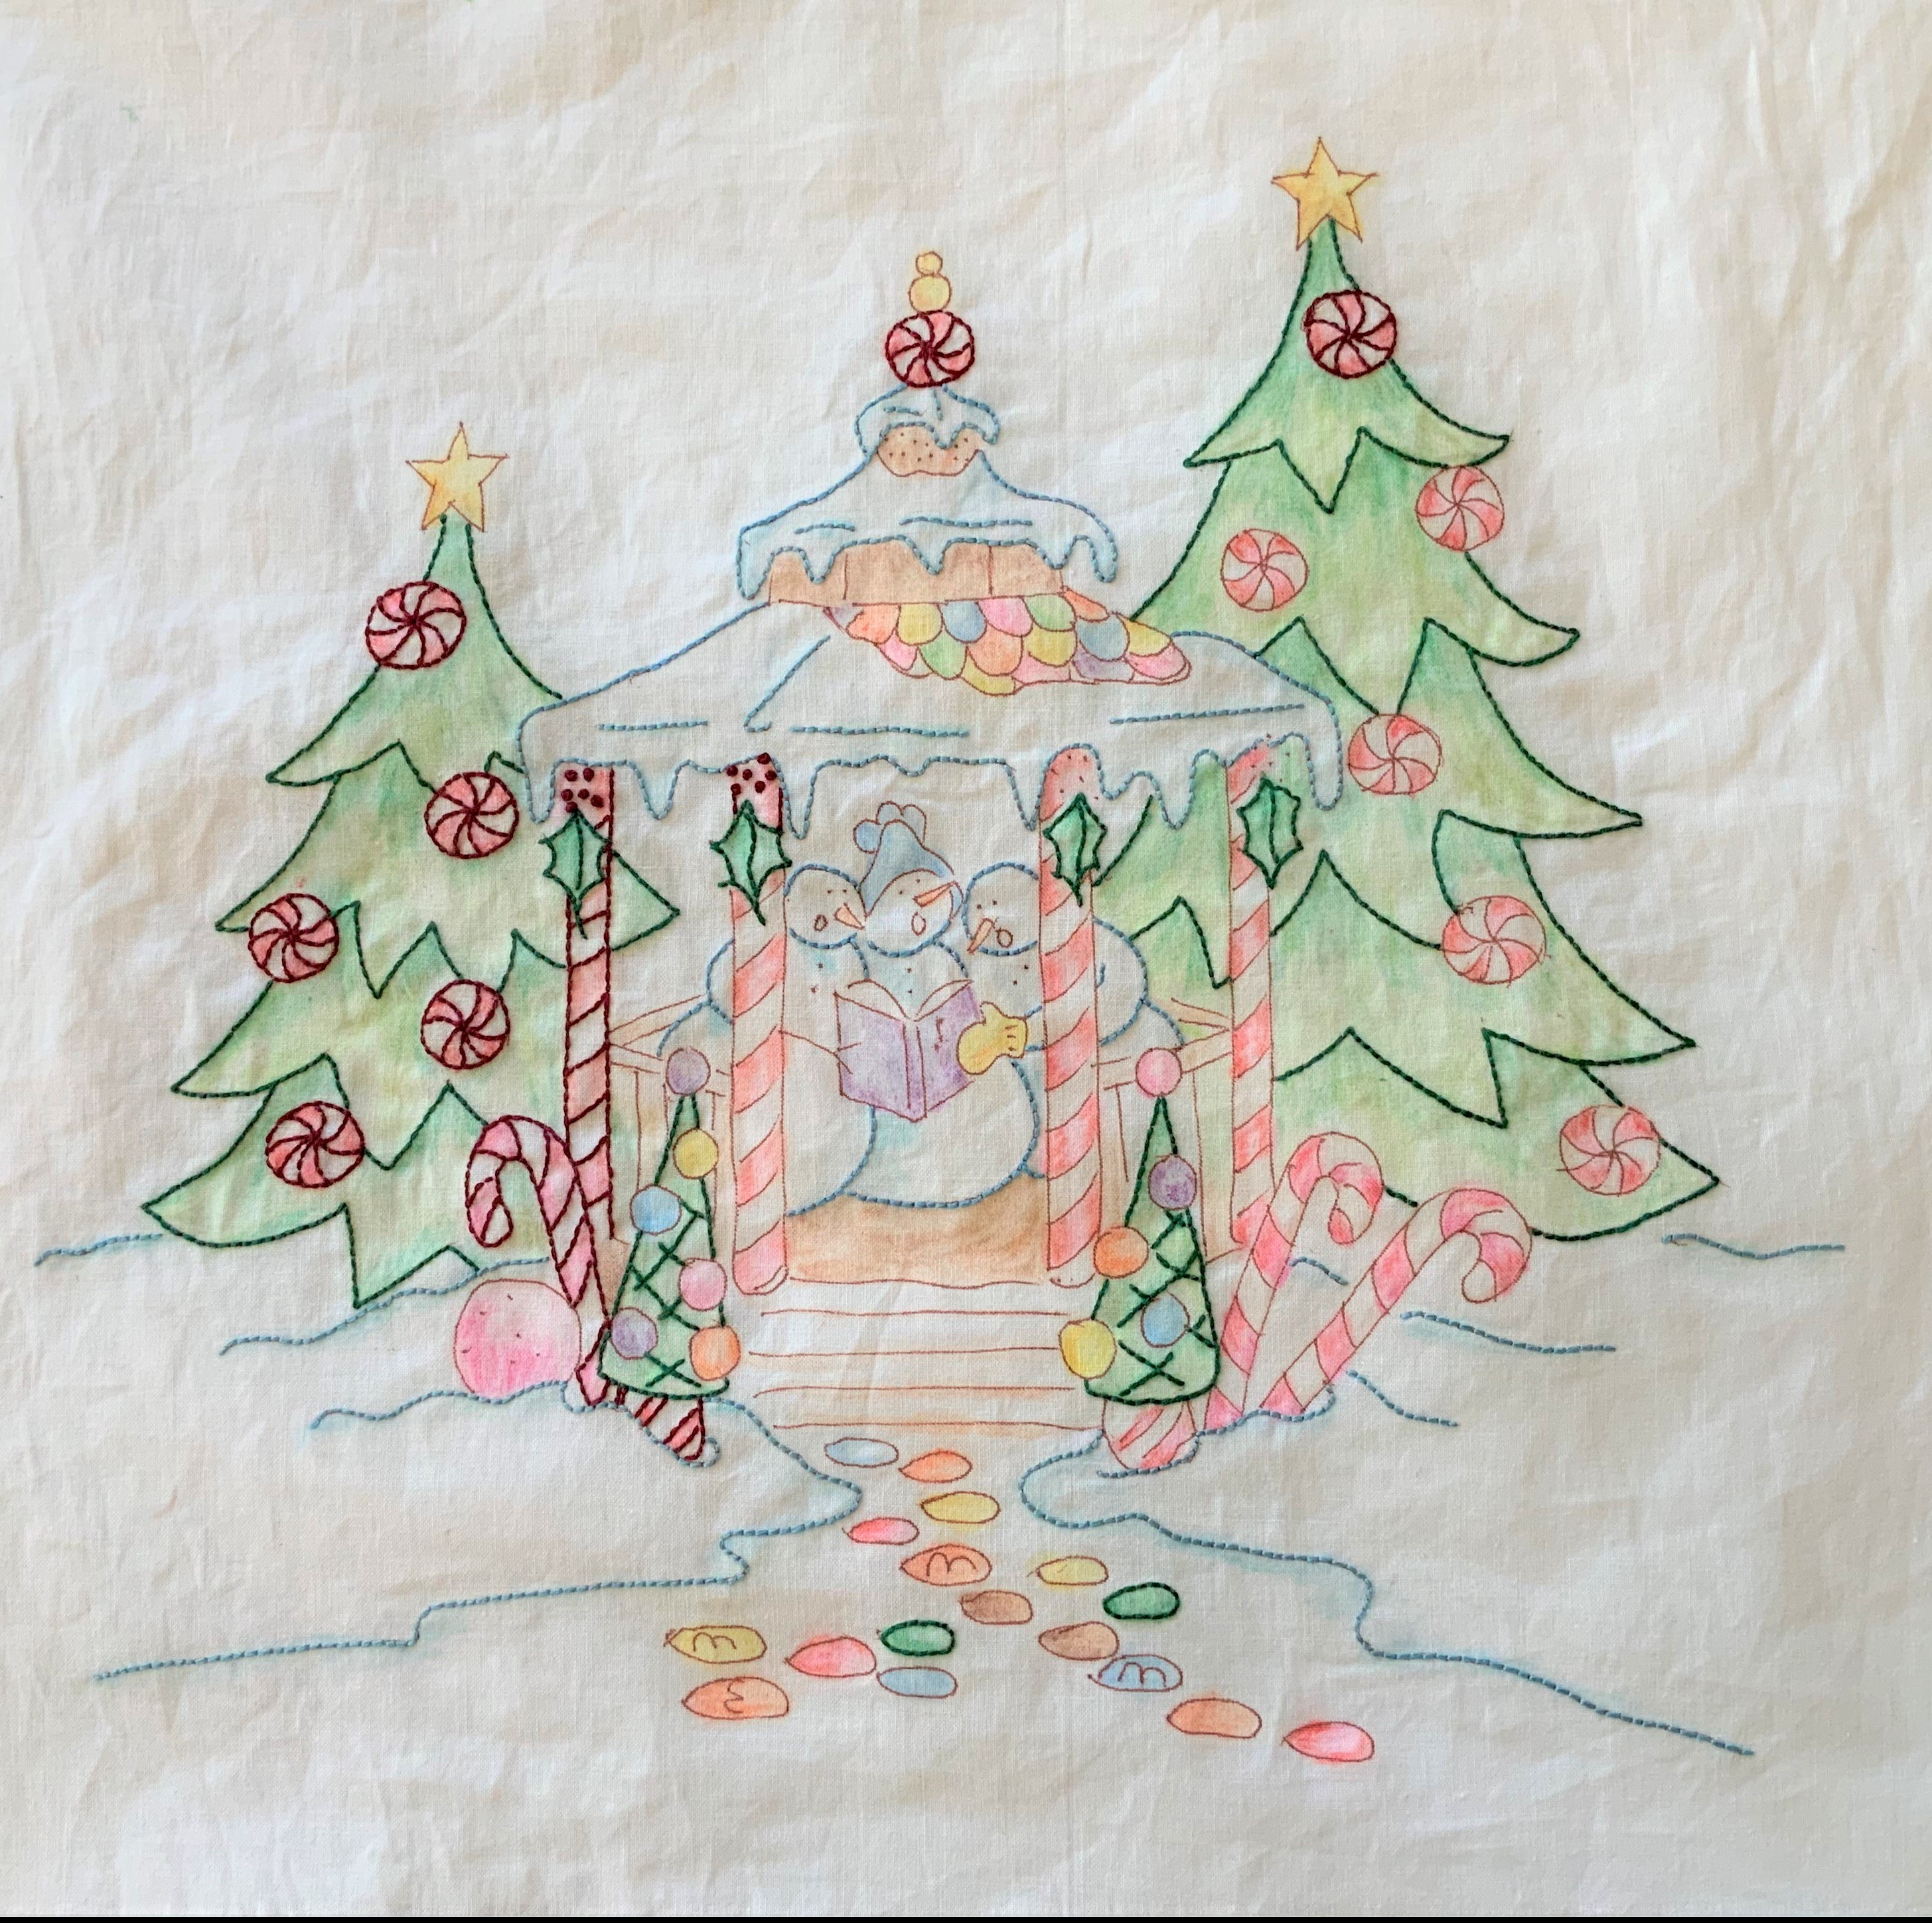
In the evenings I try to work on something other than the longarm. I’ve been whipping through projects, so decided I needed to work on something by hand (which doesn’t seem to bother my neck and shoulder).  I started Crabapple Hill Studio’s Gingerbread Square several years ago. Made it through three blocks and got distracted. I pulled it back out and this week I am working on block 5.

IMG_0940

I don’t do many of the patterns with the crayons, but couldn’t resist this one.  Since most of the embroidery is just outlining, it would be kind of boring with out the coloring.

Needless to say, I’m not having any issue filling my time while we are supposed to be staying home. I’m as busy or busier than usual.


WIP Home Sweet Home

26 02 2020

Today I’m feeling the pressure of a looming deadline. I’ve been working on the Home Sweet Home work box for almost a year. I’m teaching it as a class and the final class is in about two weeks.  Which means I need to be finished.  Nothing like a deadline to keep one motivated. This is where I am at the moment, and I expect to be further before the day ends.


I Go to Extremes

11 07 2019

My last post was about computerizing my quilting machines, today I’m talking about the other extreme– handwork.

I’m teaching a year-long class using the book Home Sweet Home An Embroidered Work Box  by Carolyn Pearce. This is a stitch intense project, however i’s a great deal of fun for me. I’m getting to use stitches I’ve learned and never had a place to use them.  I just finished this side panel this week.

IMG_E0672

I have already finished the front and the back of the house.

IMG_E0680
IMG_E0681

To make this useful rather than just “eye candy,” I’d like to explain the transfer technique I used. This is stitched on a linen cotton blend, which meant it was too opaque to see through, in order to trace the design using a light table. My initial plan was to use an iron on transfer pencil, trace the design on the back of the pattern and then transfer to the fabric.  I traced the whole front. When I went to transfer, the pattern slipped so that piece wasn’t usable.

I considered using Sulky Sticky Fabric-Solvy. However, I don’t enjoy stitching through the extra thickness and I don’t want to get this project wet.

A light bulb went on. These panels are small, they easily fit onto an 8-1/2″ x 11″ sheet. So why not use an INK JET printer.  Here’s how I did it:

  • Cut fabric 8-1/2” x 11″ and Freezer Paper 8-1/2” x 11” (you could iron the freezer paper to the back of the fabric first and cut both together.
  • Press the fabric to be sure it is smooth. I sprayed it lightly with Fabric Sizing to make it a little stiffer. Then carefully line up the Freezer paper with the fabric, the shiny side of the freezer toward the fabric. Press well to make sure the Freezer paper is stuck firmly to the fabric. Trim away any loose threads.
  • Copy the pattern onto regular paper lightening the copy if possible.  Use White Out to remove any marks that won’t be covered by embroidery – charm placement, the seam line etc.
  • The fabric/freezer paper goes into the paper tray with the fabric facing down.
  • I tested different settings on my printer/copier, but found that running it through as regular paper worked fine. Depending on your printer/copier you may need to adjust settings for heavier paper i.e. brochure  Then I just hit copy. It worked like a charm!

Clear lines, with much less time spent on transferring the design. My ink didn’t smear. I do not intend to wash this ever, so I don’t have to worry about it possibly running. Finally Ink Jet ink is acid free.  Now I need to figure out a way to print larger projects.

There is nothing new under the sun. After my experimentation I came across an article from Inklingo talking about printing other types of patterns on an Ink Jet printer.


The Power of Suggestion

15 12 2016

Working in a quilt shop, especially when your job is to check-in new merchandise can be a costly endeavor. Things you were sure held no interest for you may suddenly have appeal when they pass through your hands.

I lost interest in cross stitch years ago, in fact I think there are still a couple unfinished projects from the 80s somewhere in the house. But when a pattern for Snow Country Sled ornaments from Foxwood Crossings passed through my hands, I “needed” to do cross stitch again!

So last year at Thanksgiving the pattern and perforated paper made the trip with me to Oregon, and I did manage to stitch out the designs for three sleds. I didn’t get around to actually finishing the project until yesterday, when I glued the designs to the top of the sleds. This will need to qualify as my handmade ornaments for this year. (I try to do at least one each year.)

fullsizerender-1

I think my interest in cross stitch has once again waned  — until something else exciting passes through my hands.


Stitching Society Binder Cover

4 05 2015

I continue to live life at a frantic pace, but rarely slow down enough to write about it lately.  This year I’m teaching Stitching Society at Ruth’s Stitchery.  Which means I’m making lots of little motifs and working on learning some new hand embroidery stitches well enough to teach them to others. I also spend a little time researching the history of various things — needles, thread, pins so far. It’s fun, but overwhelming at times.

This month for the small project I made the binder cover.

Binder-Cover

I chose to add pockets to the inside, they are not included in the pattern.

binder-cover-2

I promised my students I would upload my pictorial guide, I am not including measurement because that information is available in the pattern. Here is the guide as a PDF Binder Cover.


Something Odd Happened Today

18 03 2014

Yes, indeed, something very odd happened today.  I finished a class sample almost 3 weeks in advance rather than in the wee hours of the morning prior to class!  I was at the store about an hour early this morning, and in that hour I put the last stitches in this candle mat.

Spring!The pattern is Spring! from Penny Lane Primitives, and is the project I’ll be discussing in the Wool Projects class in April.  The entire mat was made with Wool Felt produced by National Nonwovens.   I prefer items that while they will work for specific holidays, they can also carry throughout a season.

I left the actual sample hanging in Ruth’s Stitchery today.


Winter or Spring

12 03 2014

Sunday and Monday we had gorgeous Spring weather here.  Yesterday we were back to snow and windy cold, and today the sun is back.  Because I need to do some clean-up I’m removing all the winter decorations today (technically Spring is just a little over a week away).

As I was preparing this quilt for storage, I realized it was a UFO I’d finished just before Christmas and never marked off my list!  The pattern is Winter Wonderland from Crabapple Hill Studio.

Winter-Wonderland

Because I am no longer doing custom quilting for hire, it was actually fun to take my time and quilt this one for me!

Winter-Wonderland-DetailNow I can store the quilt with a clear conscience.  😀


Snowmen in July

3 07 2013

I just put the last stitch in this top at about noon today.

Postcard-CutiesNolan purchased the pattern “Postcard Cuties for Winter” from Bunny Hill Designs for me for Christmas several years ago.  I never quite decided what fabric I wanted to use until I saw that the pattern was being reissued using the Primitive Gatherings Snowman Gathering line of fabric.  We already had the precuts in the store so I grabbed those in early April.  The  same week I got those, the yardage arrived and I took it home the same day UPS delivered it to the store.

The blocks were super fast.  I was doing two a day for the first few days.  (Remember I get dropped off at work up to 2-1/2 hours early during the school year.)  In fact I made it all the way to just a little work on the last two blocks before I decided I had to go back to Audubon’s Christmas to be ready for class.  I  pulled it all back out last Sunday night and finished it up.  There are buttons that I will add after quilting.  I used Pendleton Wool for the snowmen which I picked up when I went to Walla Walla for the boys soccer tournament.

I had my blocks at the store during the time I was working on them and we had preorders for several patterns before they were ever released and the fabric line zipped out the door.   We were told this line wouldn’t be reprinted, but it looks like that may have changed.  We are waiting to see.


Now and Then

26 06 2013

So I don’t stay permanently behind, I’m going to show wool felt projects finished this month and for my March class.

I think I’ll use the LIFO method of inventory to determine order.  I just put the backing on the Dragonflies Penny Rug on Sunday.  The pattern is from Penny Lane Primitives.

Dragonfly-candlematJust a couple of note-worthy things on this project.  You won’t find the exact cream color I used for the background on this mat.  I started with Fresh Linen wool felt from National Nonwovens and tea dyed it.  I wadded up the felt and determined what size mixing bowl I could fit it into.  Then I took the felt out of the bowl, filled the bowl up with boiling water and seeped two bags of tea.  Once the tea was nice and dark, I removed the tea bags and shoved the felt in the bowl.  I did not agitate because I was hoping for mottled fabric.  Once I thought the wool was dark enough, I removed it from the bowl and rinsed.  Then I put it in the spin cycle of the washer, and finally dried it completely in the dryer.  Most of the projects I’ve shown previously, I’ve laid flat to dry.  So this background fabric is a little more pebbly than what I typically show.

The other thing worth noting,  the felt for the tails of the dragonflies was cut with a hole punch.  We’ve discussed using punches in class before, but this pattern called for the punch.  So much easier than cutting all those circles with scissors.

The second project was finished either at the very end of February or the first couple of days of March.  This  floss keeper was made from the Stitchery Set pattern by Bareroots.

floss-keeper-outsideI was in a huge hurry on this one, so you are seeing the wool felt as it came off the bolt.  I usually prewash for a softer feel.  The centers on the flower were loads of fun to make and super easy.  The buttons I used came from my grandmother’s stash, which of course means people in class couldn’t exactly duplicate.

The inside has three sheets of felt and rings to store floss for a current project.  A small pocket (I added stitching across the top of it before attaching) and a small pincushion.

floss-keeper-insideThe pattern has a large pincushion, scissor fob, and needle keep which I never got around to.