Halloween is not a holiday I get excited about. However, I do decorate for Fall and candy corn plays a small part in the grand scheme.
 Also my husband has very fond memories revolving around his grandfather and candy corn. So, I’m going to continue the candy corn theme in part two of the paper foundation piecing tutorial.
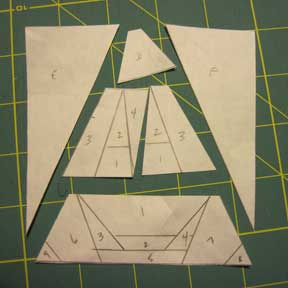
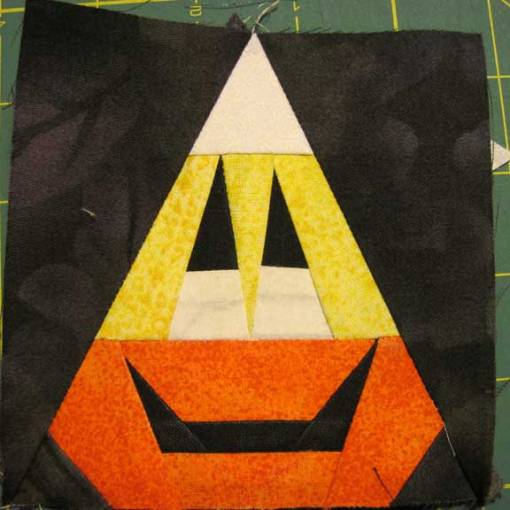
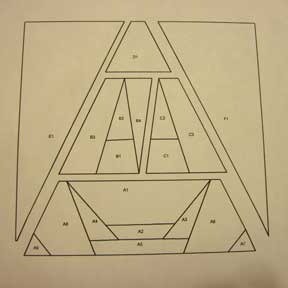 Some patterns must be broken into smaller units to be able to piece them using the foundation method. This is another pattern I drew in Electric Quilt and this time I chose to print it without seam allowances. This particular pattern is broken into 6 sections. Just take them one at a time.
You can use the method I showed in the previous tutorial to piece each section, but I thought I’d show you another way, which I prefer.
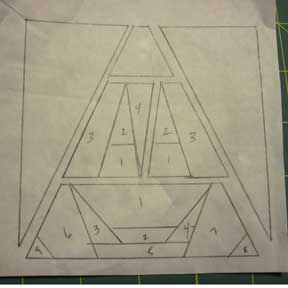 The pattern is transferred to either freezer paper or Totally Stable. 8-1/2″ x 11″ freezer paper sheets can be purchased to run through your printer or you can make your own. For this demonstration, I traced the pattern onto the dull side of the freezer paper.
Cut the foundation sections apart. I trimmed exactly on the outside stitching line.
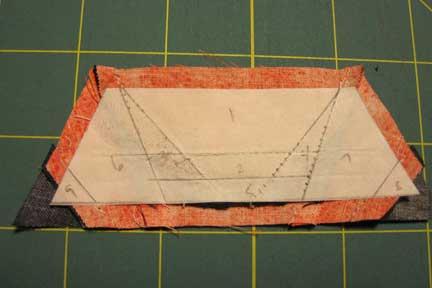
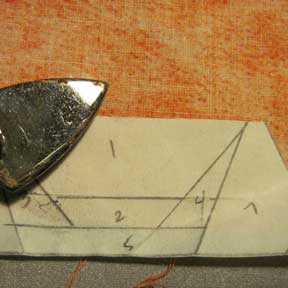 I started with the bottom section of the pattern. Press fabric to the shiny side of the freezer paper completely covering piece 1 and allowing for seam allowances. (It is convenient to keep an iron near the sewing machine when doing this type of piecing.
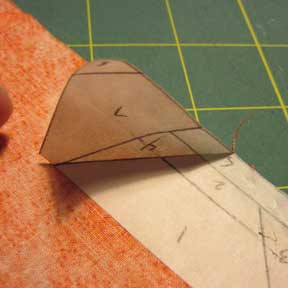 Fold back the foundation on the lines around piece 1.
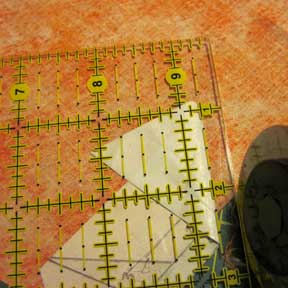 Align the 1/4″ mark on a ruler with the folded foundation and trim the seam allowance. This can be done all the way around this first piece.
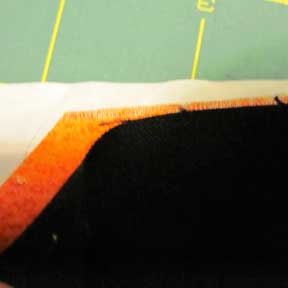 Line up the cut edge of the fabric for piece 2 with the cut edge of piece 1 right sides together and so they overlap the stitching line between pieces 1 & 2 by a quarter-inch.
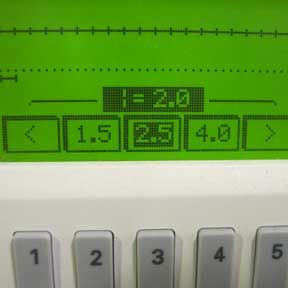 For this method it is not necessary to have the super short stitch length or the extra-large needle. I did shorten the stitch length slightly since some of the seams are short and I don’t want them to pull apart while working with them.
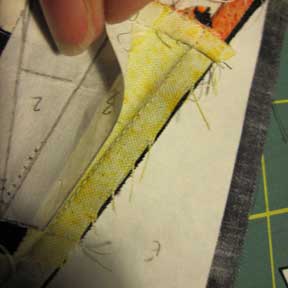
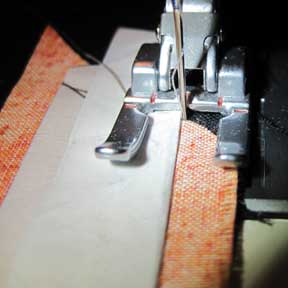 Fold back the foundation along the stitching line and stitch right next to that fold.
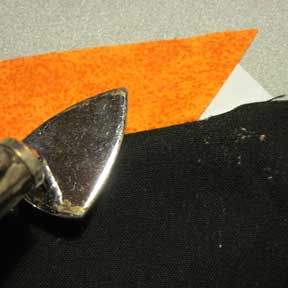 Flip piece 2 open and press the seam allowance. In the pressing process, the fabric from piece 2 should be pressed well enough that it sticks to the freezer paper foundation.
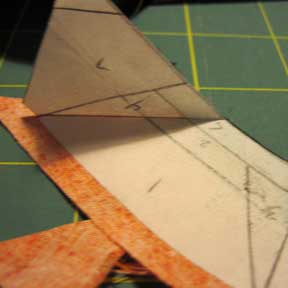 Again fold on the lines all the way around these two pieces that have been stitched in place.
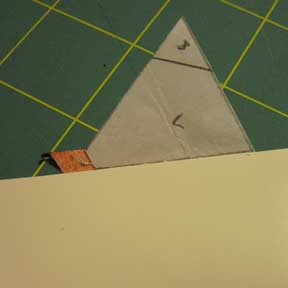 If you have trouble folding exactly on the line, use a piece of light weight cardboard or an index card. Place it on the line and
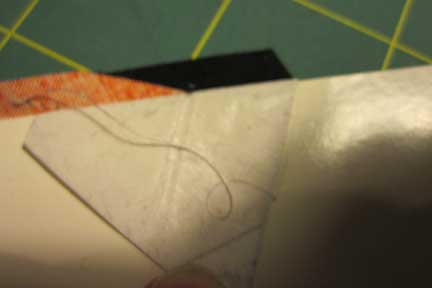 fold the foundation back over the cardboard to form a crease. A participant in one of my classes had another excellent suggestions, fold on all the lines of the foundation before beginning to make it easier to fold them as you are working.
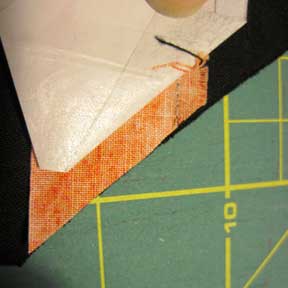 Trim the seam allowance to 1/4″ and add piece number 3, right sides together. Flip the new piece along the seam you will be stitching to be sure it completely covers the seam allowance.
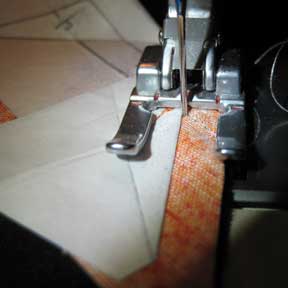 Stitch along the folded edge of the foundation.
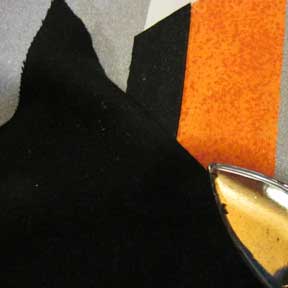 Flip piece 3 open and press the seam allowance.
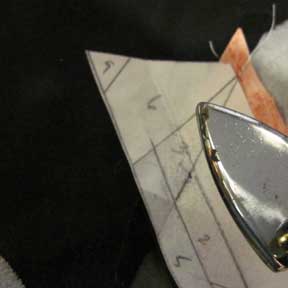 Depending upon the iron you are using, you may find that you need to press from the back as well to get the freezer paper to stitch to the fabric.
Continue this process until all the pieces have been added for the first section.
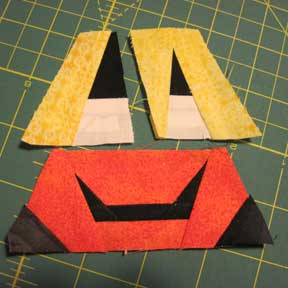 Follow the process for each section that needs to be pieced. Here I’ve finished the next two sections and can join them together and add them to the bottom section.
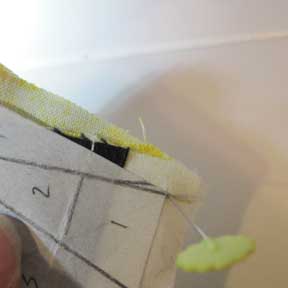 Use a pin to align the corners of the pieces. Because each piece has been trimmed to an accurate 1/4″ the cut edges of the seam allowance can be line up. Pin the two foundations together.
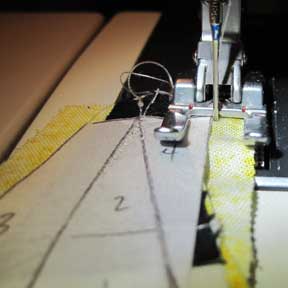 Stitch along the edge of the freezer paper. The stitching should also be running right along the edge of the freezer paper on the bottom. If you just catch the freezer paper on the other side with a stitch occasionally, it is not a big deal. However, if you are stitching well into the freezer paper, the seam allowances need to be checked and corrected.
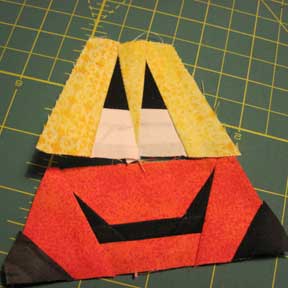 Press the seam to one side, or if there is a great deal of bulk, consider pressing the seam open. The center section of the candy corn can now be added to the bottom section. Again use pins to line up corners and align the cut edges of the seam allowance.
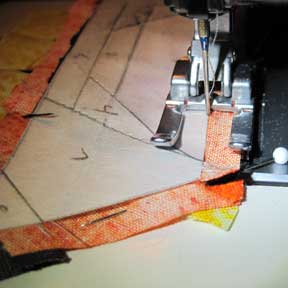 Again stitch along the edge of the freezer paper. Press the seam either to one side or open.
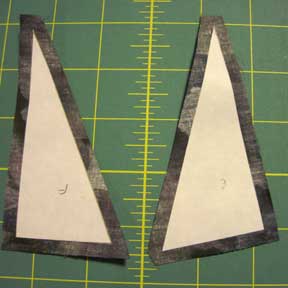 It is very likely that in a multi-part foundation there will be sections that have only one piece. In that case, press the freezer paper to the wrong side of the fabric and cut a 1/4″ seam allowance all the way around. Use pins to line up the corners and join these sections exactly the same way as previous sections were combined.
If you’ve been cutting the 1/4″ seam allowance all along, there will be no need to trim the block when it is finished. I leave the foundation on the block in this method, until it has been added to the finished project.
When it is time to remove the foundation just peel them away. There isn’t any stitching through these pieces so it should be very easy to remove.
If you’d like to play along, here is the foundation candy corn face foundation. It is free and may be shared but not sold.
My block was 4″ finished. If you are ever copying multiple foundations, always copy from the original not from another copy. This helps to limit distortion.
Recent Comments