It was the late 1980’s or early 1990’s when I was first introduced to paper piecing. It’s something that I’ve been acquainted with for so long, that I sometimes forget it is still new for many people. It is not one of my favorite piecing methods, however it is a good method to have in one’s repertoire for the times when nothing else will get the results you desire.
I plan to do a two-part tutorial. In this first part, I will cover the basics of paper foundation piecing using one method. The second tutorial will show another method and how to do multi-sectioned foundations.
To begin, a foundation is needed. There are many books and patterns commercially available, as well as free patterns online. I drew this one in Electric Quilt and printed it on regular printer paper. Printer paper is not ideal. There are special papers for paper piecing, some look similar to newsprint (without the print), there’s velum, freezer paper, water-soluble paper, etc. If you decide you like this method, experiment with the various papers to find the one that works best for you. You should be aware, that the finished block will be a mirror image of the pattern.
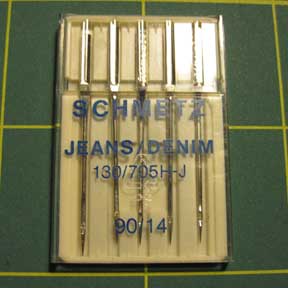 A larger than normal needle will make your life easier in the long run. I used a 90/14.
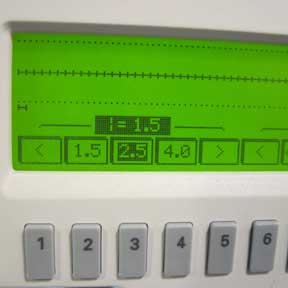 Shorten the stitch length on the sewing machine. I used a 1.5 length, but a 1.0 would be even better. I just am too impatient to spend the extra time stitching that shorter stitch.
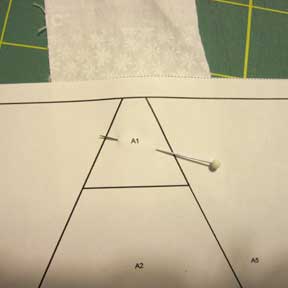 Pieces of fabric can be precut larger than necessary to cover a section or scraps can be used. Either way be sure they completely cover the piece on the pattern and allow for a seam allowance. Place the first piece of fabric on the back of the foundation, wrong side of the fabric against the paper covering shape 1. Pin in place.
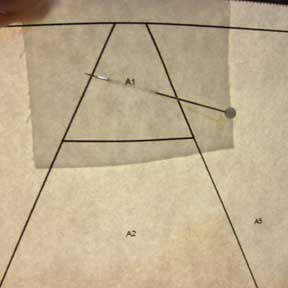 Hold the pattern up to the light to ensure the fabric completely covers the section.
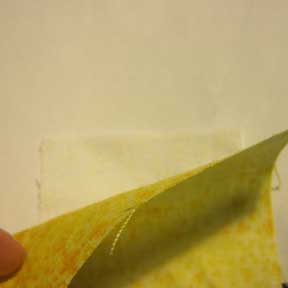 Place the right side of the 2nd fabric over the first fabric, aligning the edges about 1/4″ beyond the stitching line between numbers 1 & 2.
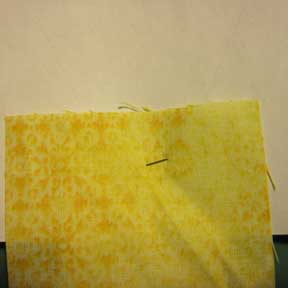 Pin the two pieces of fabric and the foundation together. It is a good idea to flip the second piece approximately where the seam will be stitched and check that it covers shape 2 on the foundation.
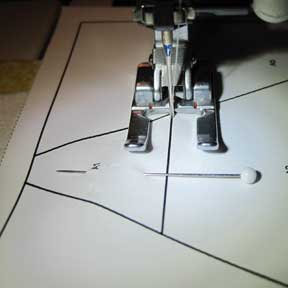 I like to use an open toe foot so the stitching lines are clearly visible. Stitch on the line between shapes 1 & 2, through the foundation and two layers of fabric. I like to start my stitching line about 1 stitch before the beginning of the line and end about 1 stitch after the end of the line.
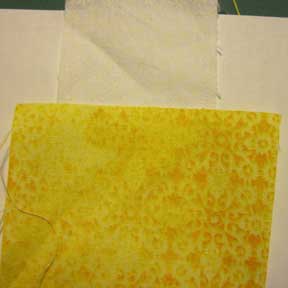 Flip piece 2 open and either finger press or press with an iron. The seam allowance will always go toward the piece just added.
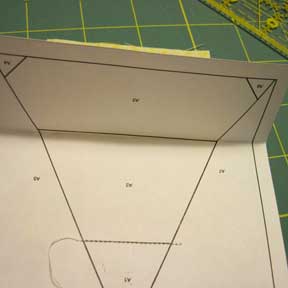 This step is optional, but I find it results in a neater final product. Fold back the foundation on the lines that border the pieces just stitched together. In this case it would be on the stitching line between numbers 2 & 3.
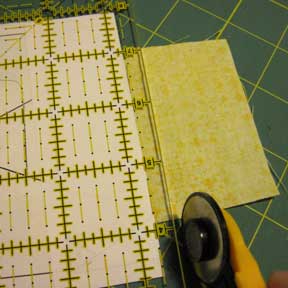 Align the 1/4″ mark of a ruler along the folded edge and trim the seam allowance to 1/4″
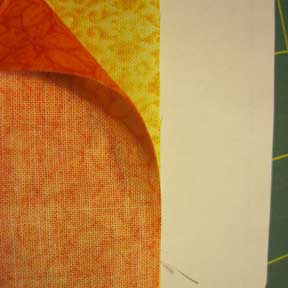 Align the edge of fabric #3 along the cut edge created in the last step. Pin if needed. Again, it is a good idea to flip the piece along what will be the seam line to confirm the fabric is big enough to cover shape 3 and allow for a seam allowance.
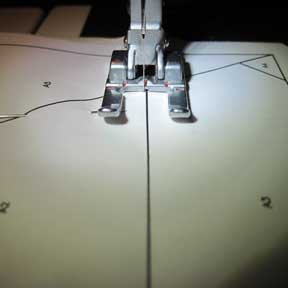 Stitch on the line between shapes 2 & 3.
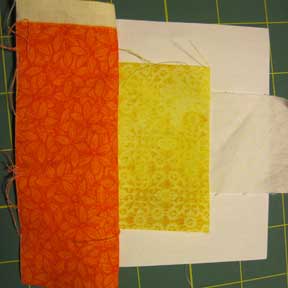 Finger press or press the seam toward the fabric just added.
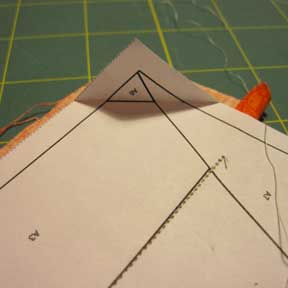 Fold along the next seam lines.
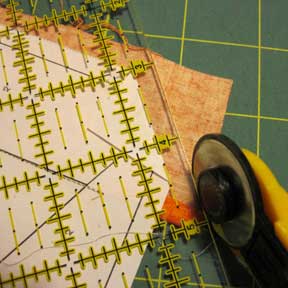 Align the 1/4″ mark of the ruler with the creased paper and trim seam allowance.
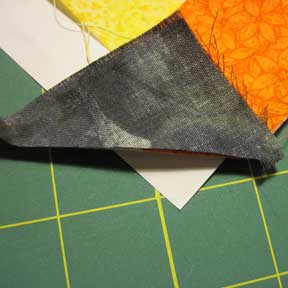 Line up the cut edge of fabric 4 with the cut edge of fabric 3.
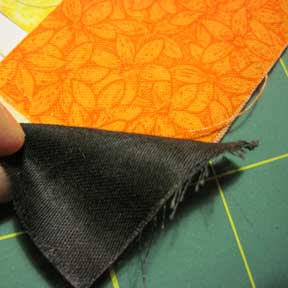 Flip along the future seam allowance to be sure the fabric will cover the shape on the foundation.
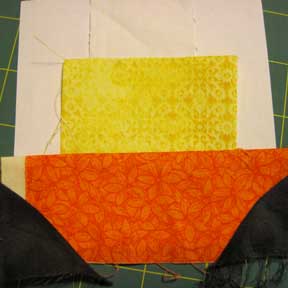 Stitch on the line between pieces 3 & 4.
Continue to fold back the foundation on the line between pieces.
Align the 1/4″ mark on the ruler with the fold, trim,
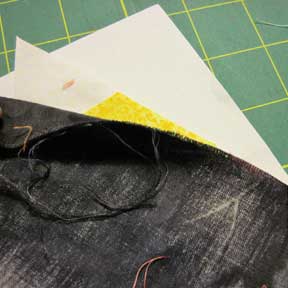 and add the next piece.
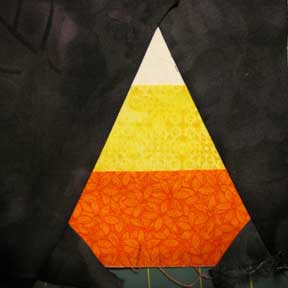 Repeat the process above until all the pieces have been stitched to the foundation. Unless you have drawn your own foundation, you should be able to just follow the order shown on the pattern. Press the block.
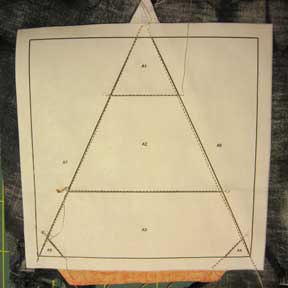 This is the back view of the block and it is ready for the final trim.
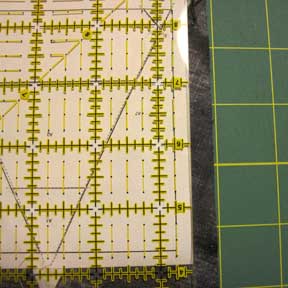 Align the 1/4″ mark of the ruler with the outside stitching lines and trim. Some foundations have the outside seam allowances, and some don’t (Electric Quilt allows you to print foundations either way.) For this pattern you could just line up the ruler with the edge of the seam allowance and trim. I prefer to make sure there is an accurate 1/4″ available.
 The block is now all squared up and ready to be used in a project. I generally leave the foundation on the block until after it is sewn into a project. Unless you are extremely fussy in your placement, foundation pieced blocks will have bias edges. Leaving the foundation on the block helps to avoid stretching.
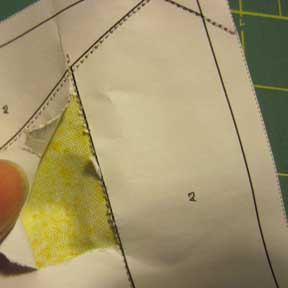 After you have stitched the block into the finished project, it is necessary to tear away the foundation. This is when the special foundation paper, bigger needle and short stitch length make a huge difference.
Interested in giving it a try? Here is my pattern for this piece of candy corn candy corn foundation. My block is 4″, it is a good idea to check the pattern when it has printed, to see that the block size is the size you desire. This pattern is free and you are welcome to share it, just not sell it.


Recent Comments